![PDF-to-Power-Automateの説明画像①](https://gadged-antique.com/wp-content/uploads/2023/03/PDF-to-Power-Automate-2023030200.jpg)
複数のPDFファイルを結合しようと考えるとVBA、フリーソフト、オンラインサービスなどが思いつきます。
ですが本記事では無料のRPA(Power Automate)を使用する方法を説明します。
PDFファイルの結合の設定は、10分程度で完了します。よろしければご覧ください。
Windows11はPower Automate Desktopが標準でインストールされています。Windows10を使用している方は下記の記事を参考にしてください。
\Power Automate Desktopのインストール/
![](https://gadged-antique.com/wp-content/uploads/2022/08/powerautomate-22083016-500x281.png)
![](https://gadged-antique.com/wp-content/uploads/2022/12/7f7fa9308dc3747e3f3d587dcad01dad-300x300.png)
RPAって聞くと何だか難しそう…
![](https://gadged-antique.com/wp-content/uploads/2022/12/32dd82f068cf3697a6df0b83904a68bb-300x300.png)
Power Automate Desktop はマイクロソフトが公開している無料のRPAソフトだよ
![](https://gadged-antique.com/wp-content/uploads/2022/12/32dd82f068cf3697a6df0b83904a68bb-300x300.png)
たぶんイメージしているよりも簡単だよ!
![](https://gadged-antique.com/wp-content/uploads/2023/08/2757a51e54e7cd9f058b7ac9adf11b84-880x566.png)
こんにちは、筆者のちんあなごです🙂
IT業界での経験を通じて得た知識を活かし、エクセルなどのソフトウェア関連のトラブルを解決する方法をお伝えしています。
皆様の作業効率向上に少しでも貢献できる情報を提供してまいります❗
結合対象のPDFファイル
初めに結合する手順を説明します。
- 結合したいPDFファイルを1つのフォルダに集めます
- 次にPower Automate Desktopを起動します
- Power Automate Desktopで新しいフローを作成します
- 作成したフローを実行します
大きく上記の流れになります。それではみていきましょう
PDFファイルを1つのフォルダへ
PDFファイルを1つのフォルダへ集めます。
![](https://gadged-antique.com/wp-content/uploads/2023/03/PDF-to-Power-Automate-2023030201.jpg)
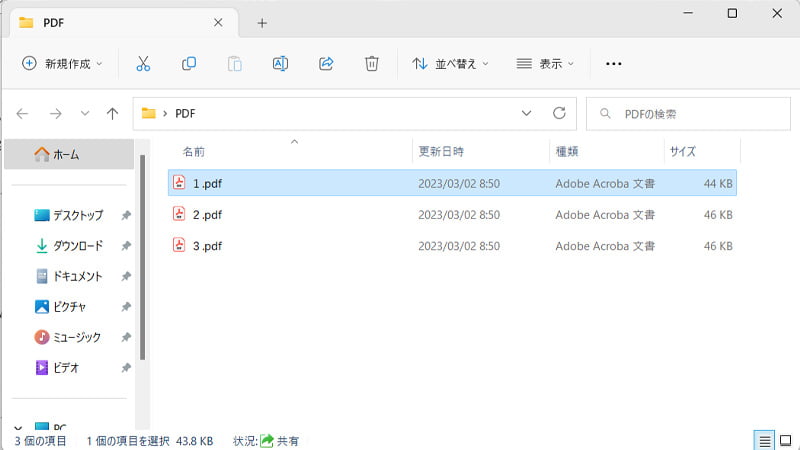
- 対象のPDFファイルをフォルダに集めます。
![](https://gadged-antique.com/wp-content/uploads/2023/03/PDF-to-Power-Automate-2023030202.jpg)
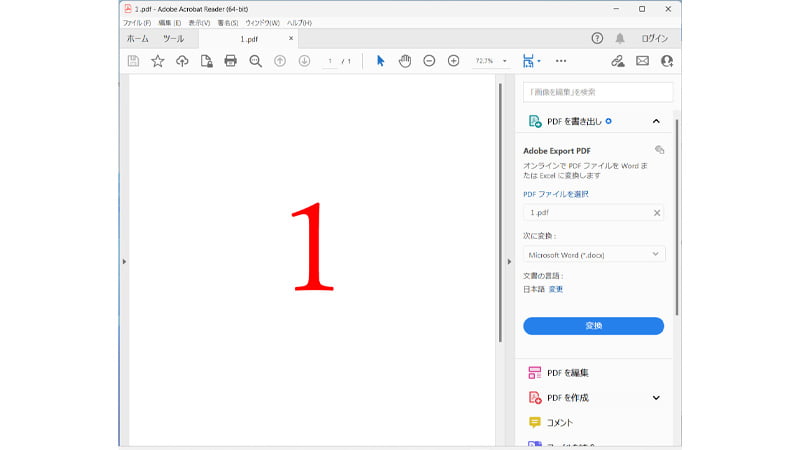
- 「1.pdf」には1と書かれます。同様に「2.pdf」に2、「3.pdf」に3と書かれています。
- これらの3ファイルを結合します。
Power Automate Desktopのフローの作成
Power Automate Desktopで新しいフローを作成します。
今回作成するフローは「PDFファイルを結合する」というフローになります。
PDFファイルを結合するイメージとしては
- 複数のPDFファイルを読み込む
- 読み込んだPDFファイルの変数を格納する
- 格納した変数を元にPDFを結合する
となります。
フローの作成とPDFファイルの変数の代入
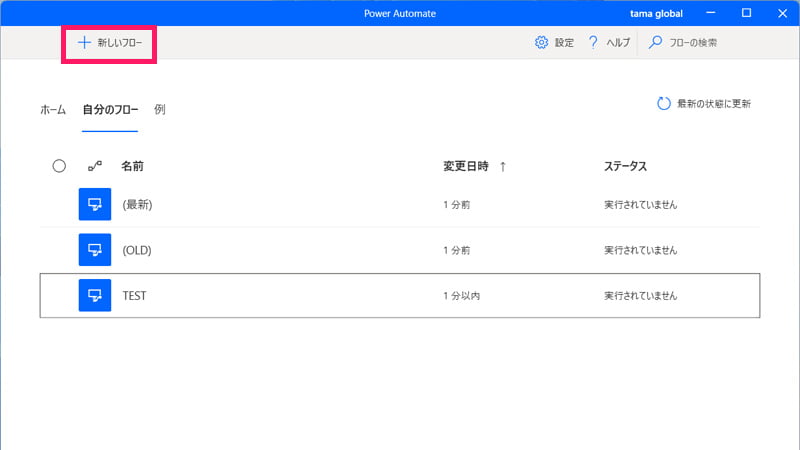
![](https://gadged-antique.com/wp-content/uploads/2023/03/PDF-to-Power-Automate-2023030203.jpg)
- 新しいフローをクリックします。
![](https://gadged-antique.com/wp-content/uploads/2023/03/PDF-to-Power-Automate-2023030204.jpg)
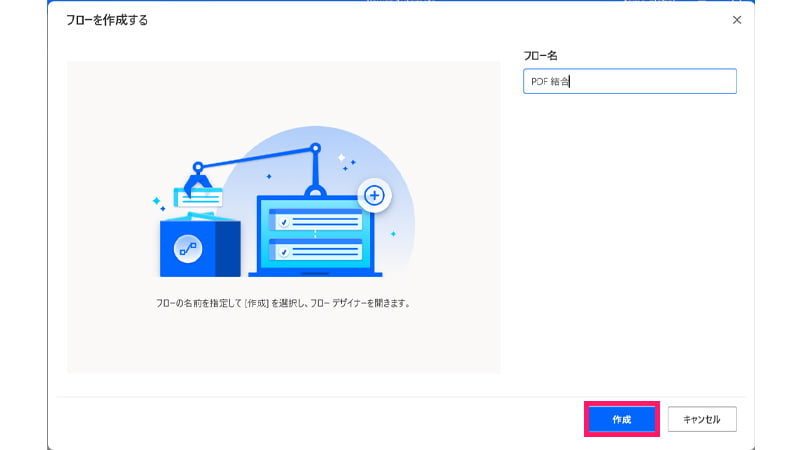
- フロー名を入力して作成をクリックします。
![](https://gadged-antique.com/wp-content/uploads/2023/03/PDF-to-Power-Automate-2023030205.jpg)
- アクションが起動します。
![](https://gadged-antique.com/wp-content/uploads/2023/03/PDF-to-Power-Automate-2023030206.jpg)
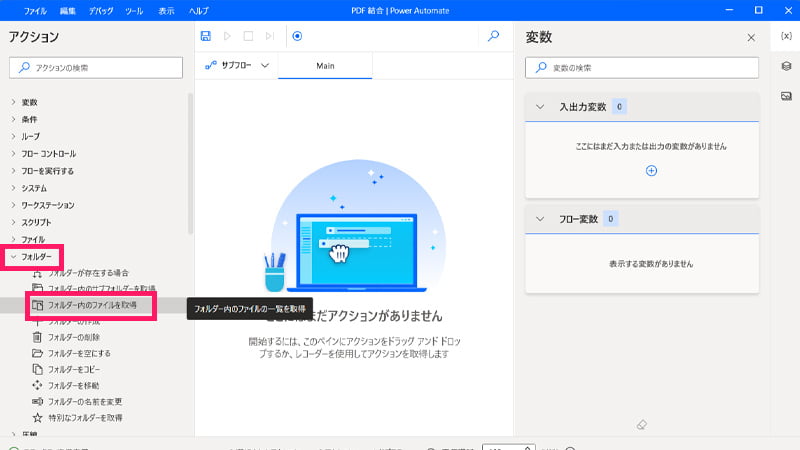
- フォルダーからフォルダー内のファイルを取得をクリックします。
![](https://gadged-antique.com/wp-content/uploads/2023/03/PDF-to-Power-Automate-2023030207.jpg)
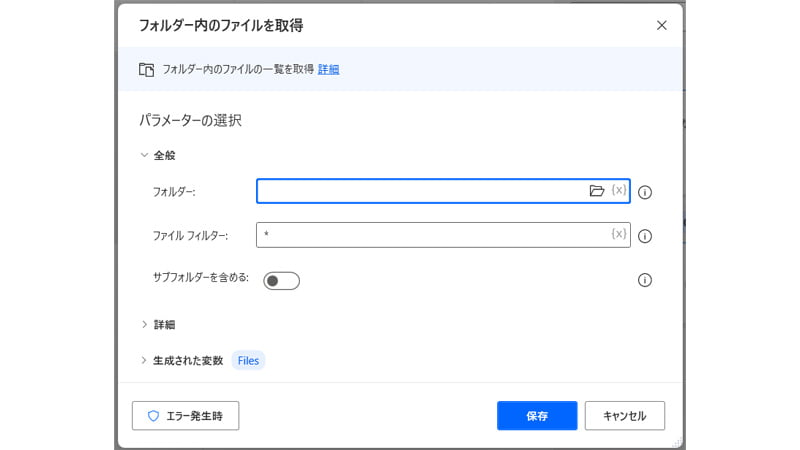
- フォルダー内のファイルを取得のウィンドウが起動します。
![](https://gadged-antique.com/wp-content/uploads/2023/03/PDF-to-Power-Automate-2023030208.jpg)
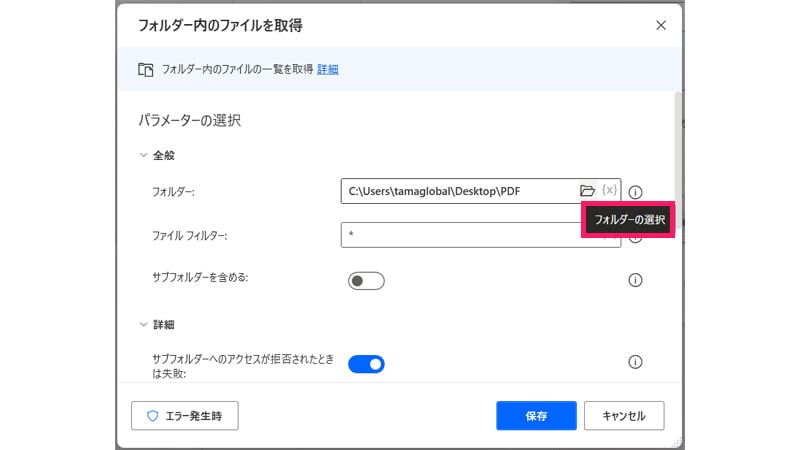
- フォルダーのアイコンからPDFファイルが格納されたフォルダを指定します。
![](https://gadged-antique.com/wp-content/uploads/2023/03/PDF-to-Power-Automate-2023030209.jpg)
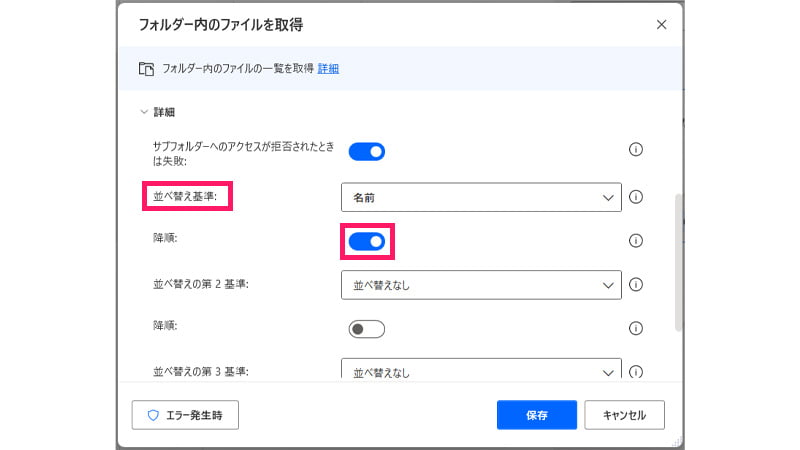
- 並べ替え基準を「名前」にして、降順にチェックを入れます。
![](https://gadged-antique.com/wp-content/uploads/2023/03/PDF-to-Power-Automate-2023030210.jpg)
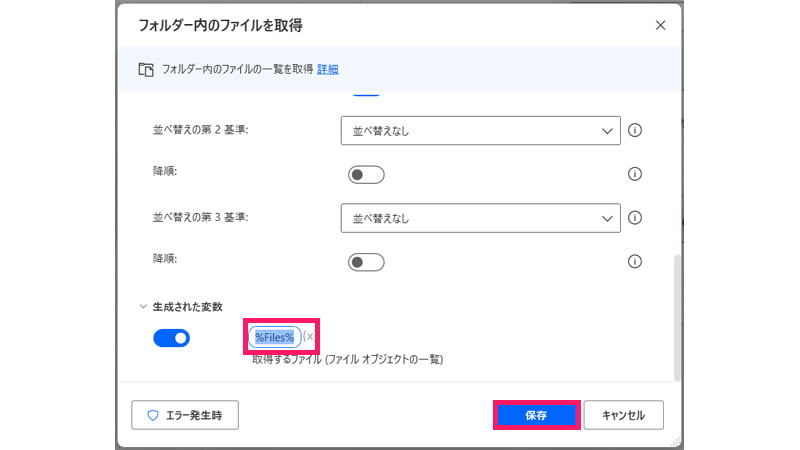
- 生成された変数をコピーします。上記では「%Files%」となります。
![](https://gadged-antique.com/wp-content/uploads/2022/12/32dd82f068cf3697a6df0b83904a68bb-300x300.png)
変数は次の工程で必要なためコピーを忘れずに!
格納した変数からPDFファイルの結合
![](https://gadged-antique.com/wp-content/uploads/2023/03/PDF-to-Power-Automate-2023030211.jpg)
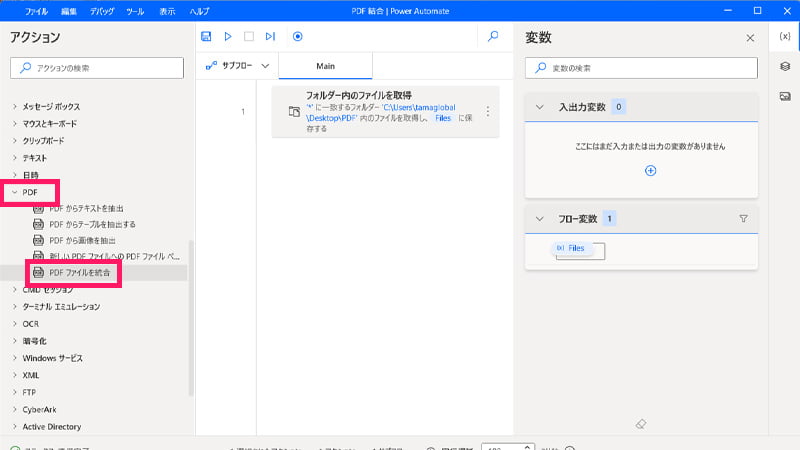
- PDFからPDFファイルを統合をクリックします。
![](https://gadged-antique.com/wp-content/uploads/2023/03/PDF-to-Power-Automate-2023030212.jpg)
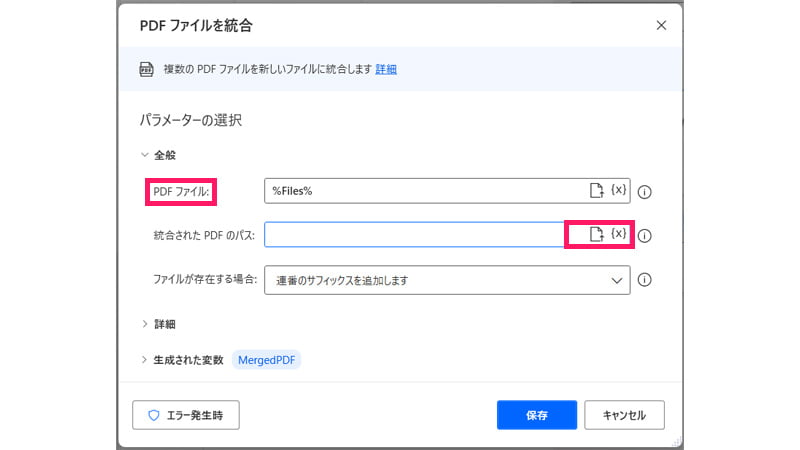
- PDFファイルに先ほどコピーした「%Files%」を入力します。
- 統合されたPDFのパスのフォルダのアイコンをクリックします。
![](https://gadged-antique.com/wp-content/uploads/2023/03/PDF-to-Power-Automate-2023030213.jpg)
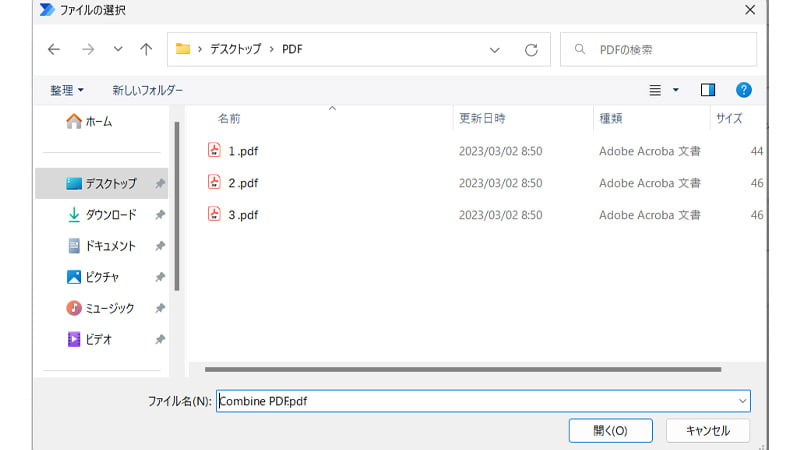
- PDFファイルが格納されているフォルダを指定してファイル名を入力します。
※上記では「Combine PDF.pdf」としています。拡張子を入力するようにしてください。
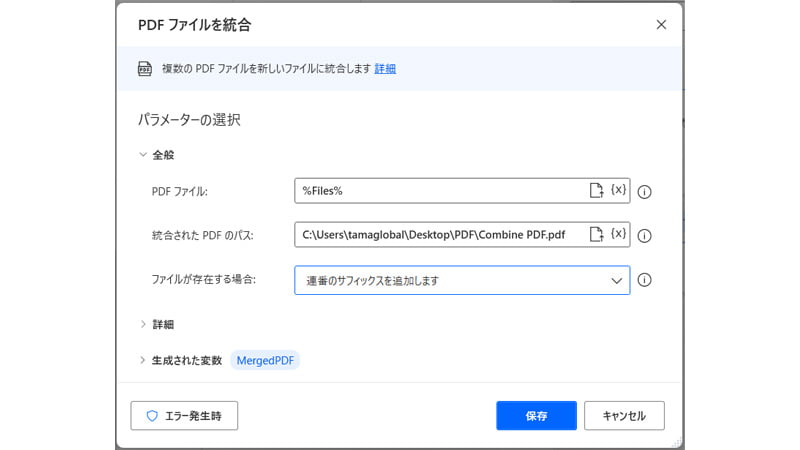
![](https://gadged-antique.com/wp-content/uploads/2023/03/PDF-to-Power-Automate-2023030214.jpg)
- 入力確認を行って保存をクリックします。
![](https://gadged-antique.com/wp-content/uploads/2023/03/PDF-to-Power-Automate-2023030215.jpg)
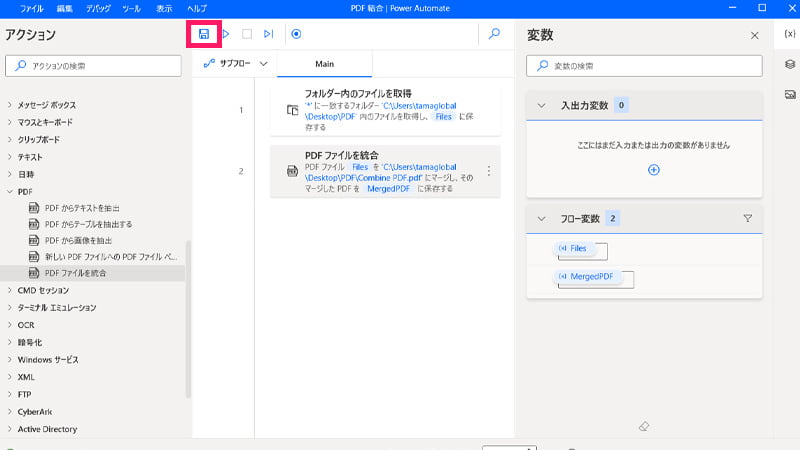
- 「フォルダー内のファイルを取得」「PDFファイルを統合」がMainに登録されたことを確認して保存をクリックします。
![](https://gadged-antique.com/wp-content/uploads/2023/03/PDF-to-Power-Automate-2023030216.jpg)
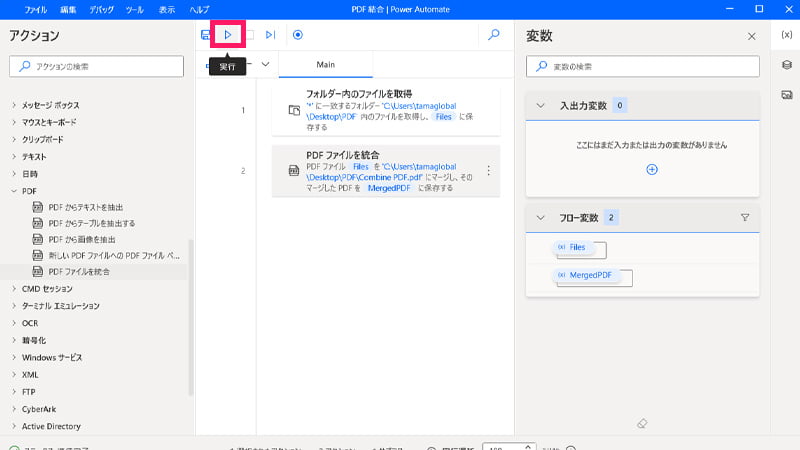
- 実行をクリックすると自動でファイルが結合されます。
- エラーが発生すると赤く表示されます。
![](https://gadged-antique.com/wp-content/uploads/2022/12/32dd82f068cf3697a6df0b83904a68bb-300x300.png)
実行してエラーが表示される場合は何かが間違っているよ!
結合したPDFファイルの確認
![](https://gadged-antique.com/wp-content/uploads/2023/03/PDF-to-Power-Automate-2023030217.jpg)
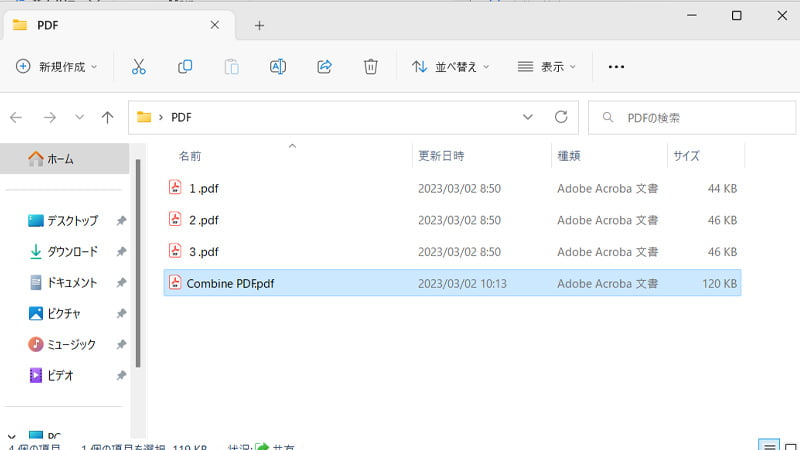
- 上記で指定したファイル名「Combine PDF.pdf」が作成されます。
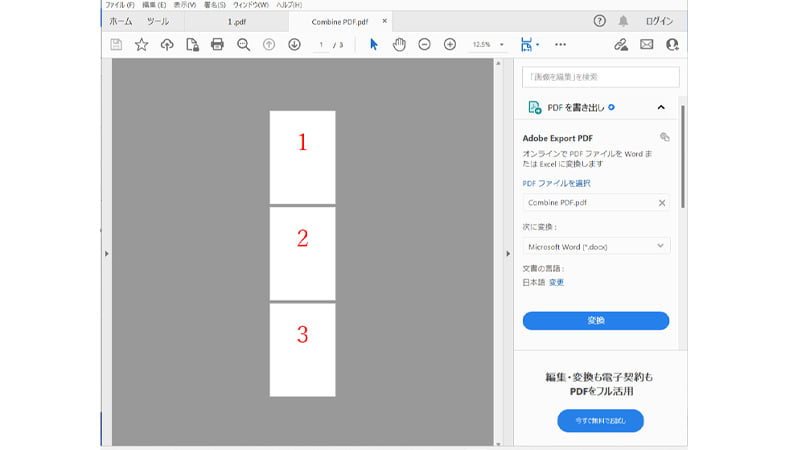
![](https://gadged-antique.com/wp-content/uploads/2023/03/PDF-to-Power-Automate-2023030218.jpg)
- ファイルの中身を確認します。
![](https://gadged-antique.com/wp-content/uploads/2022/12/32dd82f068cf3697a6df0b83904a68bb-300x300.png)
おつかれさまでした!
まとめ
本記事ではPower Automate Desktopを使ってPDFファイルを結合する方法を説明しました。
RPAと聞くと難しいように感じますが、簡単に感じたのではないでしょうか。
意味はわからなくても大丈夫です。コピーして使えれば大丈夫です。
また内容はコピーして使っている内に覚えるようになると思います。
\PDFファイルをExcelファイルに変換する方法を紹介しています/
![](https://gadged-antique.com/wp-content/uploads/2023/02/PDF-Excel-2023021800-500x281.jpg)
![](https://gadged-antique.com/wp-content/uploads/2023/08/2757a51e54e7cd9f058b7ac9adf11b84-300x193.png)
最後までご覧いただきありがとうございます。
コメント